Why You’ll Love This Recipe
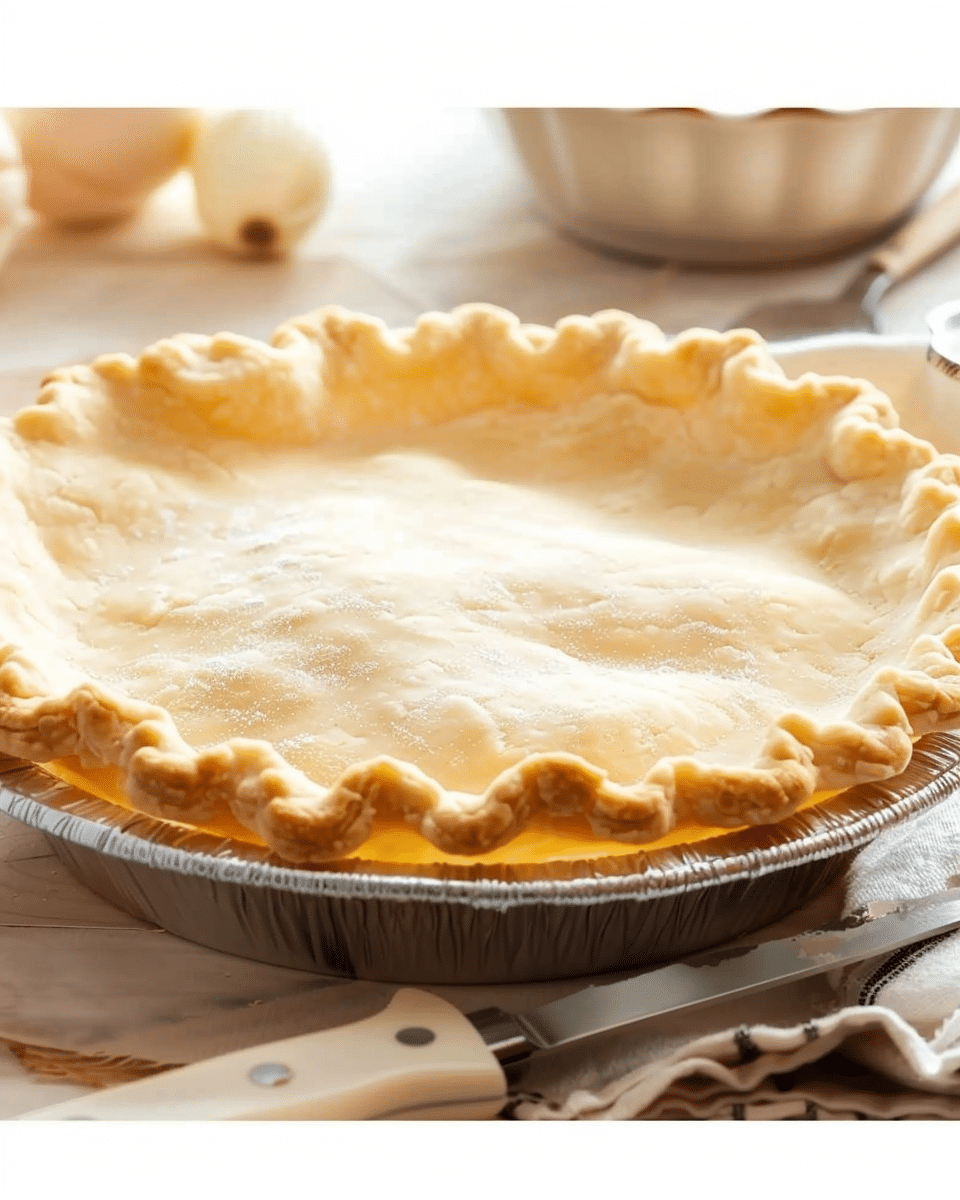
This butter pie crust is everything you could ask for in a pie crust: buttery, flaky, and easy to make. The use of chilled butter ensures a flaky texture, and the food processor speeds up the process. The dough is also versatile, allowing for both traditional pie fillings and sweet treats. Once you try this, it’ll become your go-to pie crust recipe forever.
Ingredients
-
1 cup (2 sticks) unsalted butter, cut into ¼-inch cubes and chilled
-
2 ¼ cups all-purpose flour
-
1 teaspoon salt
-
8 to 10 tablespoons ice water
(Tip: You’ll find the full list of ingredients and measurements in the recipe card below.)
Directions
-
Pulse the butter, flour, and salt in a food processor until the mixture resembles coarse sand with pea-sized lumps of butter. This will take around 15-20 (1-second) pulses.
-
Add ice water, one tablespoon at a time, through the feed tube of the food processor. Pulse 4-5 times after each addition. Stop when the dough begins to form large clumps and pulls away from the sides of the bowl.
-
Dump the dough mixture onto a work surface. Use your hands to push it together into one large lump, then divide the dough into two equal halves. Quickly form the halves into balls and flatten them into 4-inch disks.
-
Wrap each disk in plastic wrap or place in a plastic baggie. Refrigerate for at least an hour, or up to 4 days. When ready to roll out, let the dough rest for 3-4 minutes to soften slightly.
-
Lightly flour your work surface and rolling pin. Roll out the dough from the center, moving outward. Turn it a quarter turn every time until the dough is about 4 inches larger than the pie pan.
-
Once the dough is rolled out, rest it for 5 minutes. Then, carefully transfer it to your pie pan. Flute the edges, and follow your pie recipe instructions from here.
To Prebake the Crust:
-
After refrigerating the dough-lined pie plate for 40 minutes, transfer it to the freezer for 20 more minutes.
-
Preheat the oven to 375°F and place the oven rack in the lower-middle position.
-
Press a double layer of aluminum foil into the chilled pie crust and fill it with pie weights.
-
Bake for 25 minutes, remove the foil and weights, then prick the crust with a fork.
-
For a partially baked crust, bake for 5 more minutes. For a fully baked crust, bake for another 12 minutes until golden brown.
Servings and Timing
-
Servings: This recipe makes enough dough for two 9- to 10-inch pie crusts, each with 8 servings.
-
Prep Time: 20 minutes
-
Dough Chilling Time: At least 1 hour (up to 4 days)
-
Total Time: 1 hour 20 minutes
Variations
-
Gluten-Free Version: You can substitute the all-purpose flour with a gluten-free flour blend for a gluten-free crust.
-
Lard Pie Crust: For an even flakier crust, replace half of the butter with lard.
-
Herb-Infused Crust: Add finely chopped fresh herbs, such as rosemary or thyme, to the dough for a savory twist.
Storage/Reheating
-
Storage: Store any leftover dough tightly wrapped in plastic wrap and foil or a freezer-safe bag. It can be refrigerated for up to 4 days or frozen for up to 3 months.
-
Reheating: If freezing, thaw the dough in the refrigerator for 1-2 days before rolling out. If prebaked, you can store the pie shell at room temperature for a couple of days.
FAQs
1. How do I know when the dough is ready?
The dough is ready when it starts to come together in large clumps that pull away from the sides of the bowl.
2. Can I make this dough ahead of time?
Yes! You can refrigerate the dough for up to 4 days or freeze it for up to 3 months. Just make sure to let it thaw in the fridge before rolling out.
3. Can I make this without a food processor?
Yes, you can use a pastry cutter or your hands to work the butter into the flour until it resembles coarse sand, then add the water.
4. How do I avoid a soggy pie crust?
Make sure to prebake the crust if you’re using a wet filling. Chilling the crust before baking also helps prevent sogginess.
5. Why is my crust tough?
If your dough becomes tough, it may have been overworked. Handle the dough as little as possible to keep it light and flaky.
6. Can I freeze the pie crust?
Yes! You can freeze the dough disks for up to 3 months. Be sure to wrap them tightly to avoid freezer burn.
7. Should I roll the dough while it’s cold or at room temperature?
Roll the dough when it’s slightly softened, but still cold. If it’s too warm, it can become sticky and harder to work with.
8. Can I make this dough by hand?
Yes, you can mix the dough by hand using a pastry cutter or your fingers to combine the butter and flour until you achieve a coarse, sandy texture.
9. How do I flute the edges of the pie crust?
Once the crust is in the pie pan, pinch the edges with your fingers or use a fork to press down gently around the rim to create a decorative edge.
10. How can I make my pie crust more flavorful?
Add a pinch of sugar for sweetness or herbs and spices for a savory pie crust. You can also experiment with different fats like coconut oil or lard for unique flavors.
Conclusion
This butter pie crust recipe is incredibly simple yet yields stunningly delicious results. With just a few basic ingredients and easy-to-follow steps, you can create a perfectly flaky crust every time. Whether you’re making a sweet dessert pie or a savory quiche, this recipe is your go-to for creating a golden, buttery pie crust that will impress everyone!
The Best EASY Butter Pie Crust
5 Stars 4 Stars 3 Stars 2 Stars 1 Star
No reviews
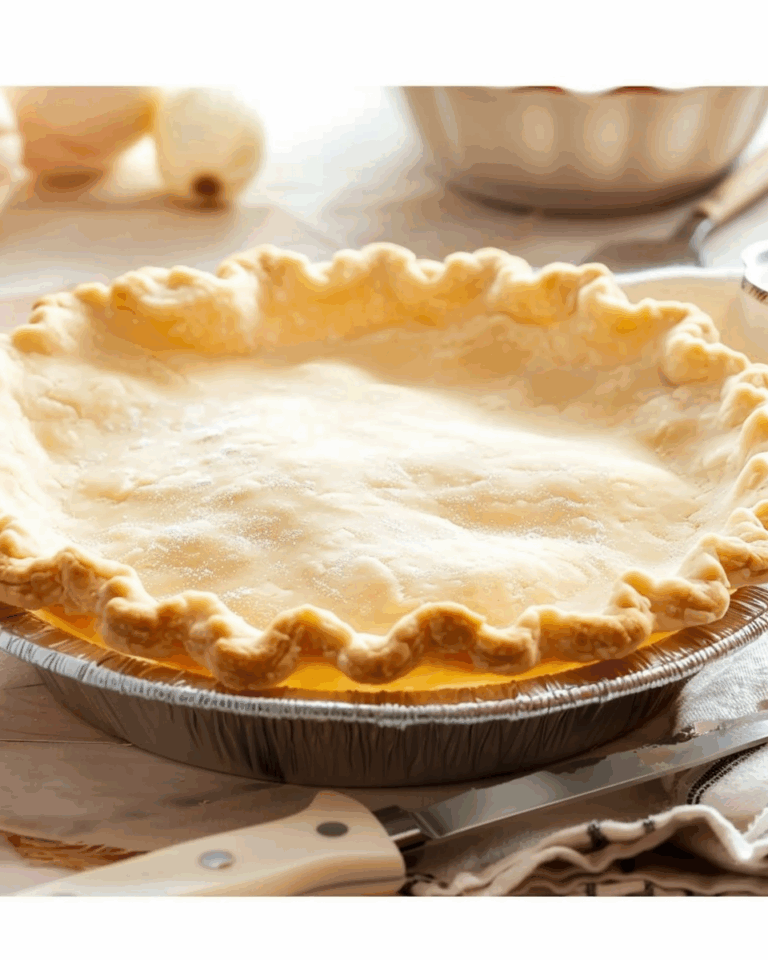
This easy butter pie crust recipe creates a light, flaky, and buttery crust with just four simple ingredients, perfect for pies, quiches, or tarts. It’s foolproof, beginner-friendly, and incredibly versatile.
- Total Time: 1 hour 20 minutes
- Yield: 2 9-inch pie crusts (8 servings each)
Ingredients
1 cup (2 sticks) unsalted butter, cut into ¼-inch cubes and chilled
2 ¼ cups all-purpose flour
1 teaspoon salt
8 to 10 tablespoons ice water
Instructions
- Pulse the butter, flour, and salt in a food processor until the mixture resembles coarse sand with pea-sized lumps of butter. This will take around 15-20 (1-second) pulses.
- Add ice water, one tablespoon at a time, through the feed tube of the food processor. Pulse 4-5 times after each addition. Stop when the dough begins to form large clumps and pulls away from the sides of the bowl.
- Dump the dough mixture onto a work surface. Use your hands to push it together into one large lump, then divide the dough into two equal halves. Quickly form the halves into balls and flatten them into 4-inch disks.
- Wrap each disk in plastic wrap or place in a plastic baggie. Refrigerate for at least an hour, or up to 4 days. When ready to roll out, let the dough rest for 3-4 minutes to soften slightly.
- Lightly flour your work surface and rolling pin. Roll out the dough from the center, moving outward. Turn it a quarter turn every time until the dough is about 4 inches larger than the pie pan.
- Once the dough is rolled out, rest it for 5 minutes. Then, carefully transfer it to your pie pan. Flute the edges, and follow your pie recipe instructions from here.
- For prebaking the crust, refrigerate the dough-lined pie plate for 40 minutes, then transfer it to the freezer for 20 more minutes.
- Preheat the oven to 375°F and place the oven rack in the lower-middle position.
- Press a double layer of aluminum foil into the chilled pie crust and fill it with pie weights. Bake for 25 minutes, remove the foil and weights, then prick the crust with a fork.
- For a partially baked crust, bake for 5 more minutes. For a fully baked crust, bake for another 12 minutes until golden brown.
Notes
- Gluten-Free Version: Substitute all-purpose flour with a gluten-free flour blend.
- Lard Pie Crust: Replace half of the butter with lard for an even flakier crust.
- Herb-Infused Crust: Add finely chopped fresh herbs like rosemary or thyme for a savory touch.
- Storage: Leftover dough can be stored in plastic wrap or a freezer-safe bag. It can be refrigerated for up to 4 days or frozen for up to 3 months.
- Reheating: If frozen, thaw the dough in the fridge before rolling out. Prebaked pie shells can be stored at room temperature for a couple of days.
- Author: Julia
- Prep Time: 20 minutes
- Cook Time: 1 hour
- Category: Dessert
- Method: Baking
- Cuisine: American
- Diet: Vegetarian
Nutrition
- Serving Size: 1 slice (1/8 of pie crust)
- Calories: 120
- Sugar: 1g
- Sodium: 110mg
- Fat: 9g
- Saturated Fat: 5g
- Unsaturated Fat: 3g
- Trans Fat: 0g
- Carbohydrates: 10g
- Fiber: 0g
- Protein: 1g
- Cholesterol: 25mg

